Most of the current progress is documented on Facebook, but here's a recap of what's been going on since September. Or just scroll to the bottom for real pictures of a real sailplane, ready to fly:
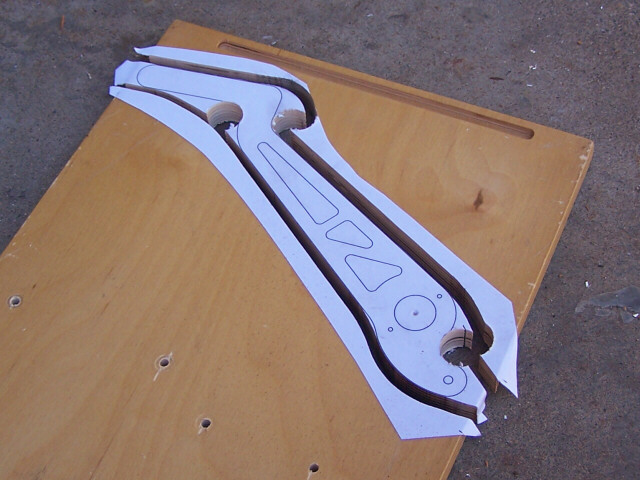
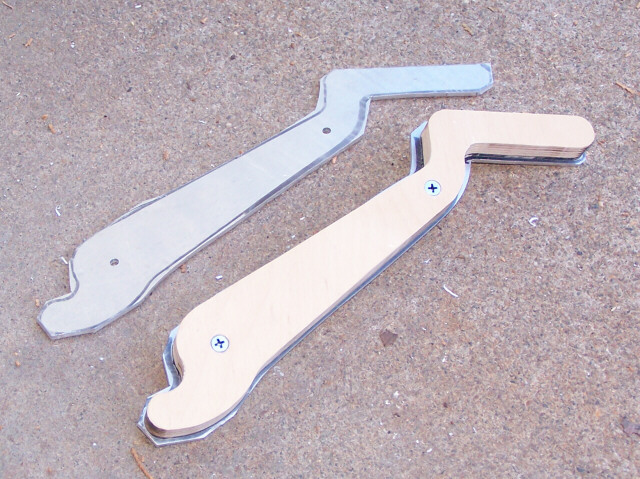
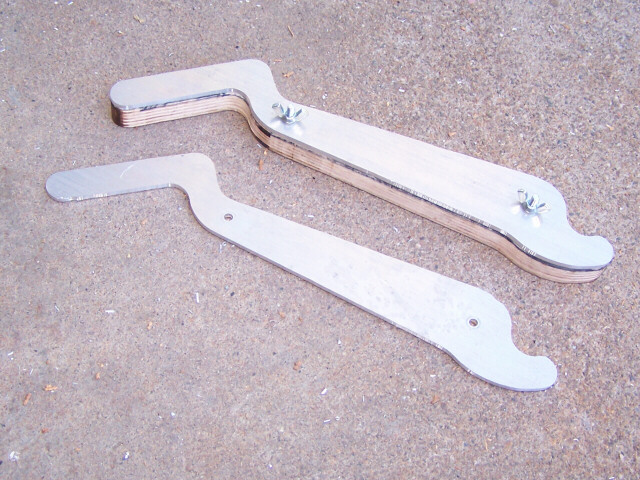
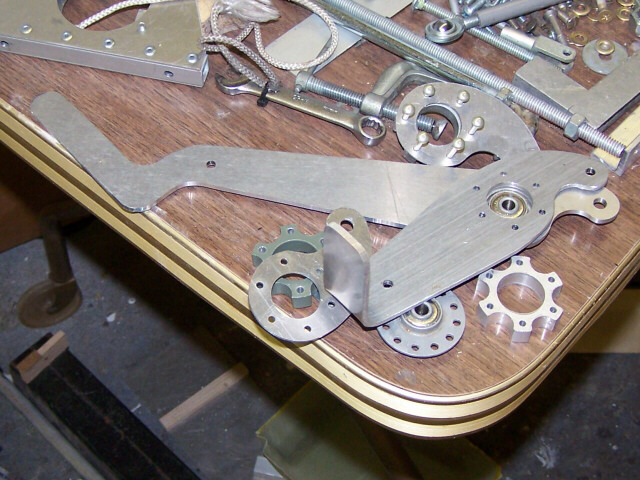
Around 4 October, making the airbrake and flap levers. A typical see'n'saw project; I printed out the outline, pasted it to plywood, and sawed and sanded to the outline. Then I used the plywood as a router template to make the actual aluminum parts.
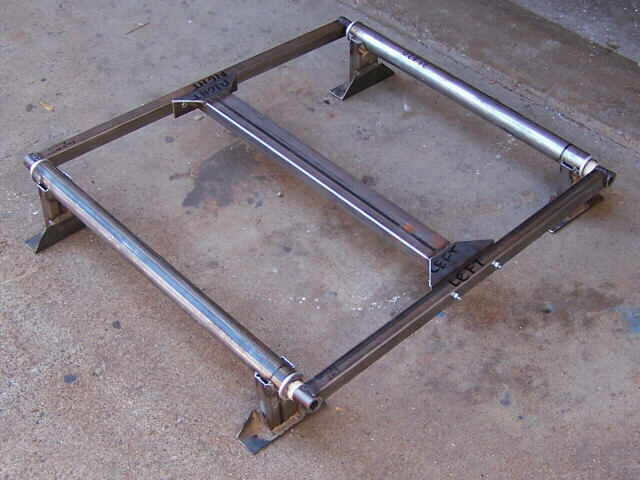
Around 11 October, making steel fixtures that we would later use in the static test. I started by using the Iron Bird jig to make a set of alignment fixtures that I would later use to align the static test carrythroughs.
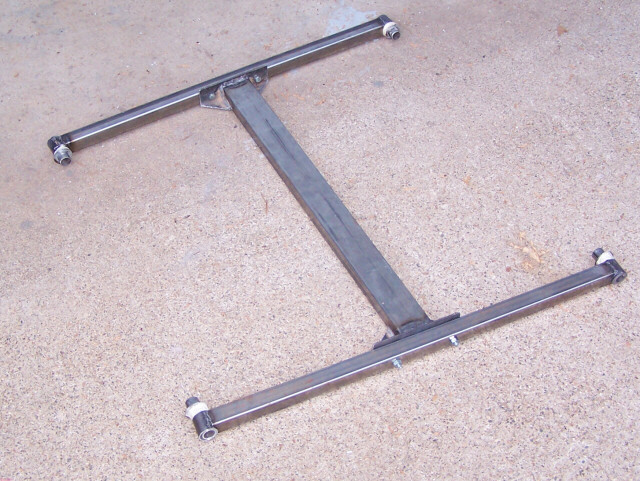
Then I made the static test carrythroughs. These are beefy versions of the actual aircraft's carrythroughs, made with mild steel. They have feet so that we can bolt them down to the top of a wooden stand that supports the wings during test. Because of the limberness of these wings, the stand has to be about six feet tall.
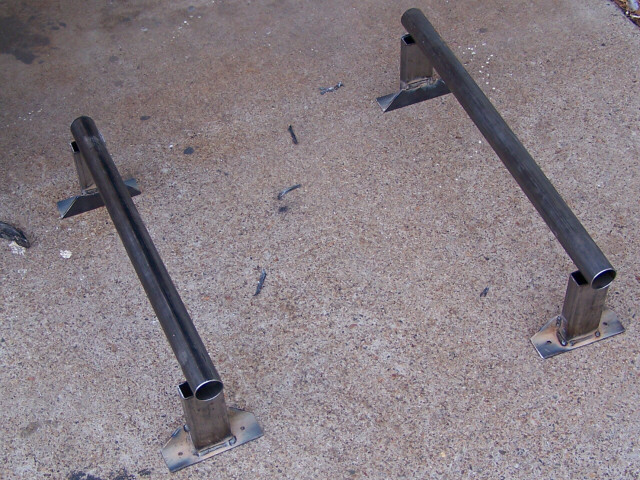
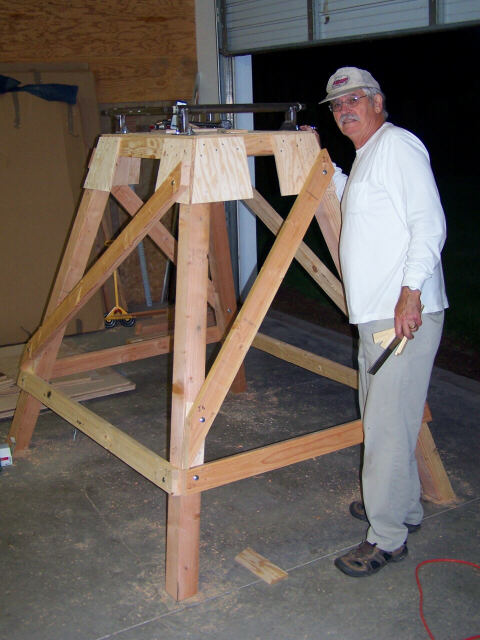
Determining how long the legs on the static test carrythroughs need to be in order that the wing top surface won't hit the top of the wooden stand.
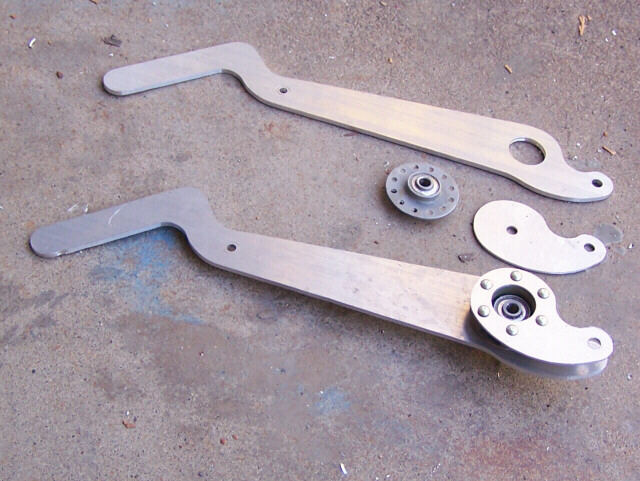
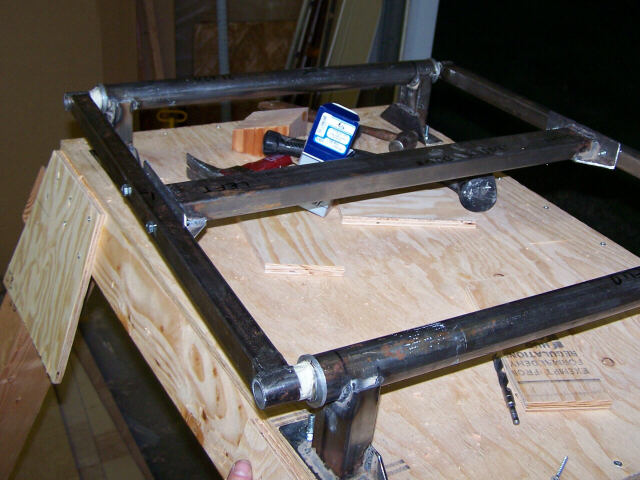
The jumble of control lever parts, ready for riveting. Making the test articles, I would typically just use a ball peen hammer to set the rivets, but for these flight articles I used a hand squeezer.
Around 15 October, doing more work on the static test setup. Here I have the completed static test carrythroughs engaged with the alignment fixture.
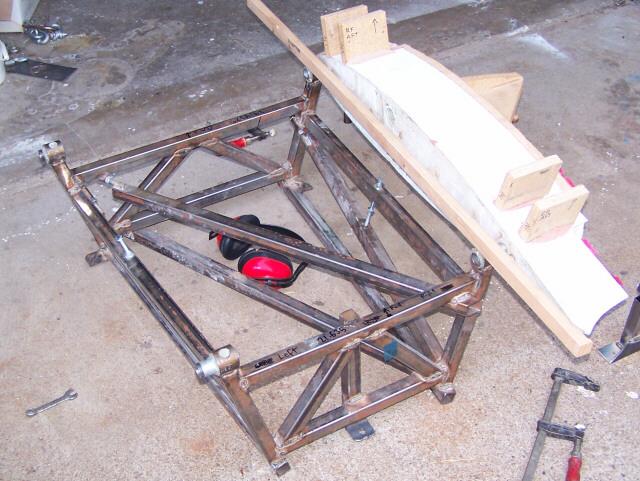
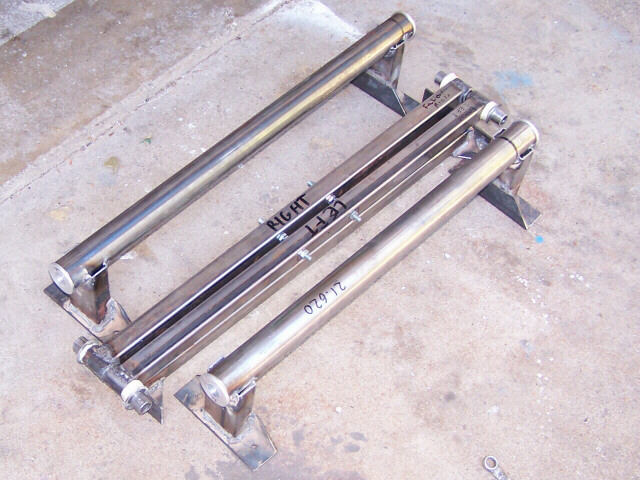
And this is the jumble of iron I packed into my luggage for the trip to Oregon where we did the actual static test.
Here we are on 27 October in the hangar of HP-18 and RV-6 builder Bruce Patton in Independence, Oregon. Bruce helped me make the static test stand, and also helped out a lot during the static test itself.
The static test carrythroughs bolted to the top of the stand.
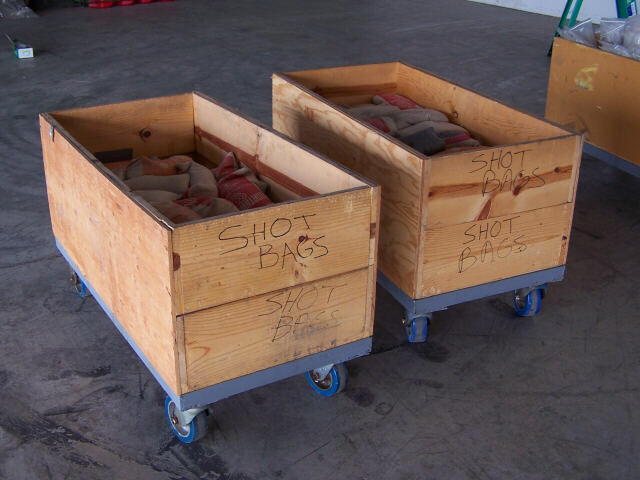
On Friday, 28 October, we moved the stand into the hangar where the static test took place. This cart contains about 3000 lb of lead shot in various sized bags. There are four of these carts. Lead is the best stuff for static tests; because of its density the bags of shot are nice and compact and easy to handle.
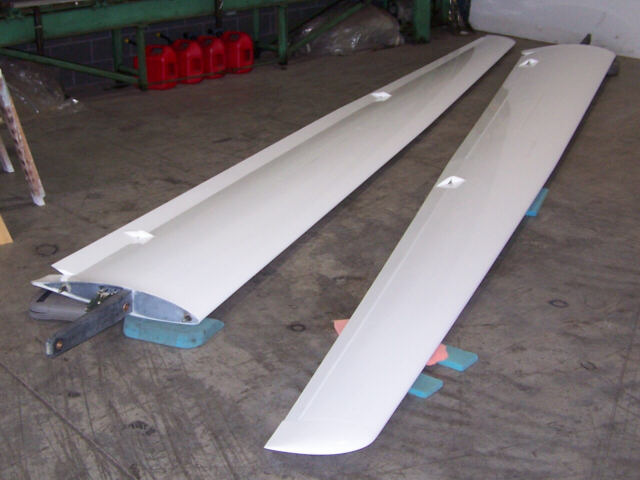
The wings, ready for static test.
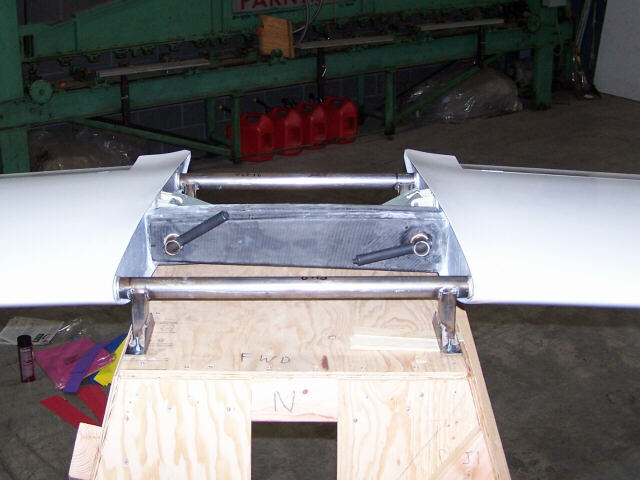
The wings engaged with the static test stand. The alignment fixture really paid off; the carrythroughs were in exactly the right spots, and the wings went right into position and the main pins slid home easily.
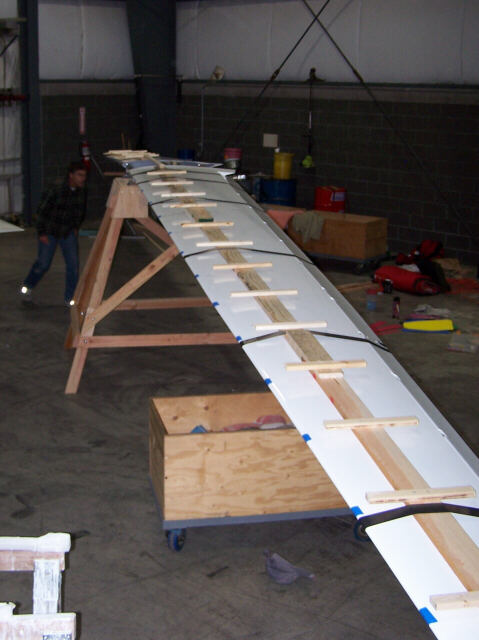
Saturday morning, 29 October, we started adding the fixtures that would prevent the lead weights from sliding spanwise down the wing. The chordwise ladder rungs are on 18" centers.
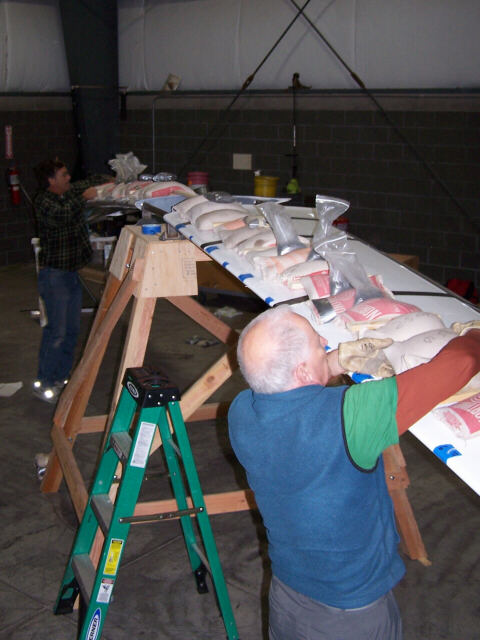
And around noon we started piling on the weights. In the Foreground is Doug Gray, in the background is Steve Smith. They are simultaneously and symmetrically laying on 25 lb bags of lead shot.
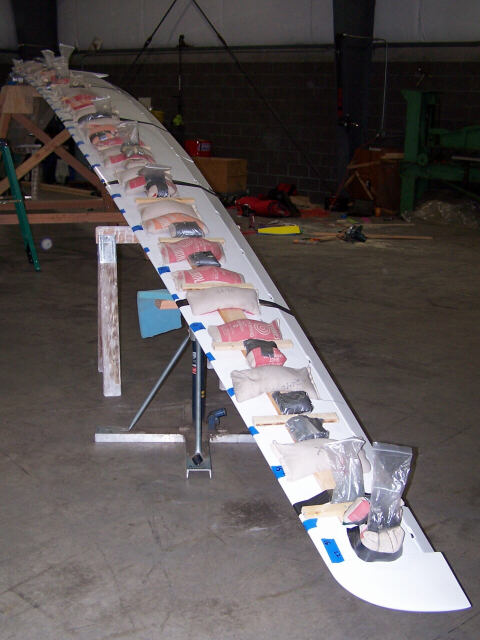
Here you can see the sawhorses and hydraulic jacks we used to guard the wings and damp resonant harmonics. We would add weight until the wing touched down on the jack, and them lower the jack for a little more clearance. And eventually the wing was fully loaded to our test condition of 4.4g. The deflection was within an inch or so of prediction, and the wing made no bad noises and showed no distress or ripples. We'll eventually pull a set of these wings to 8 or 9g, but for now this test shows that the first article is safe for flight test and utility-class operation.


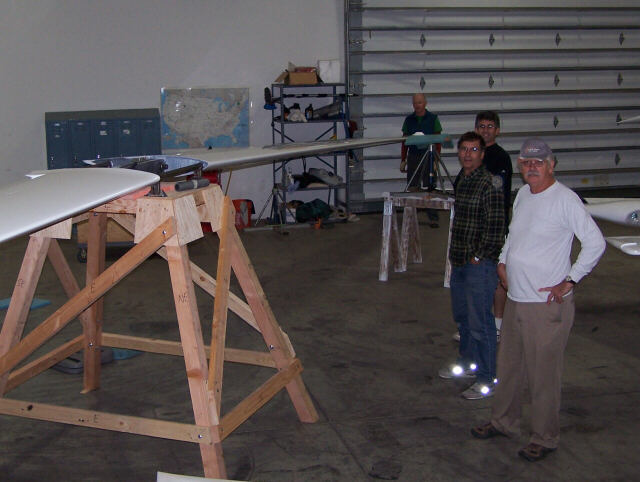
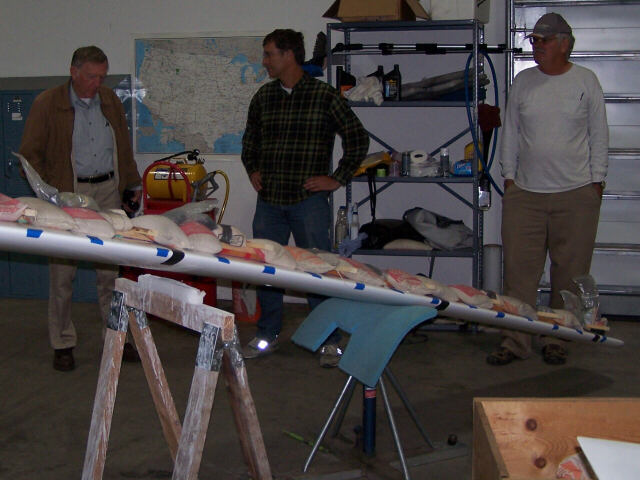
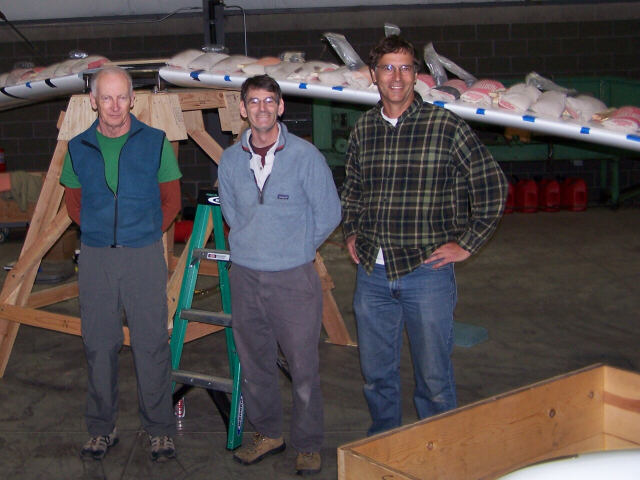
Three engineers confer. From left to right, Dick VanGrunsven, Steve Smith, and Bruce Patton.
Test Successful, happy faces! That's Doug, me, and Steve.
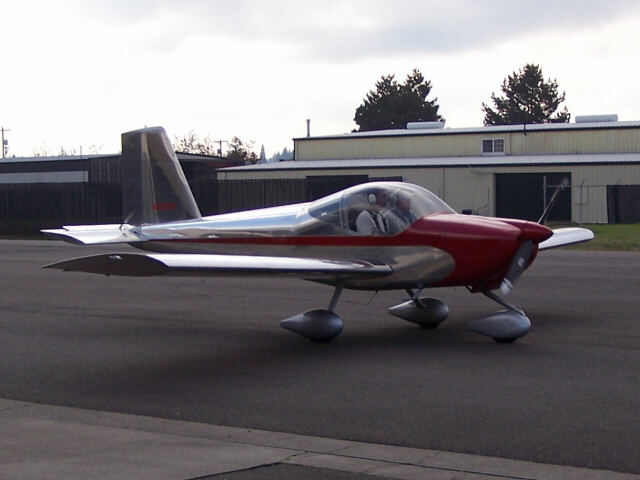
After the test, Van took some of us for rides in his personal RV-12. That is a sweet little airplane, with good performance and great handling!
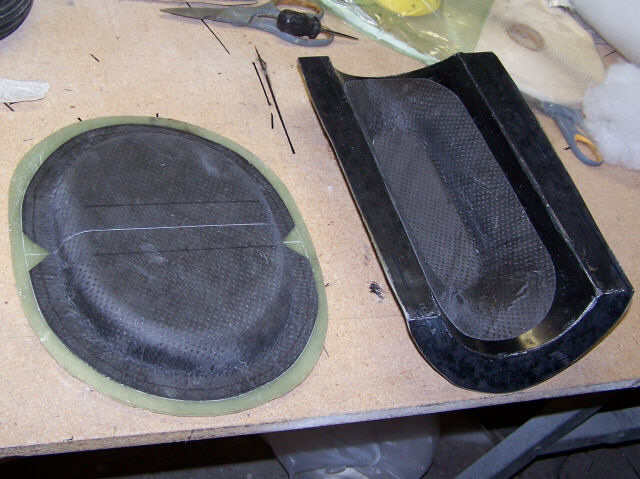
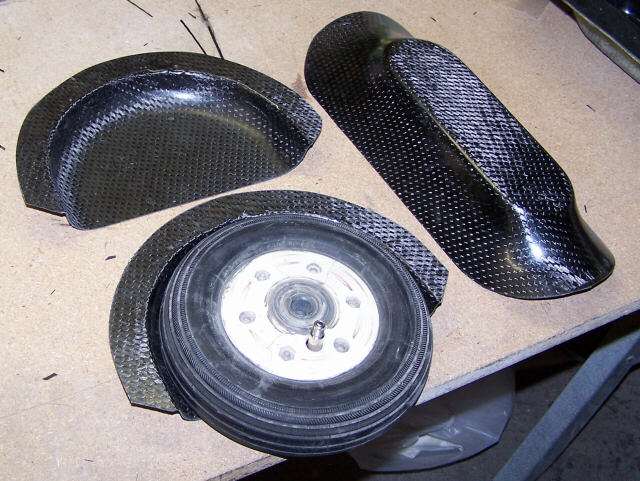
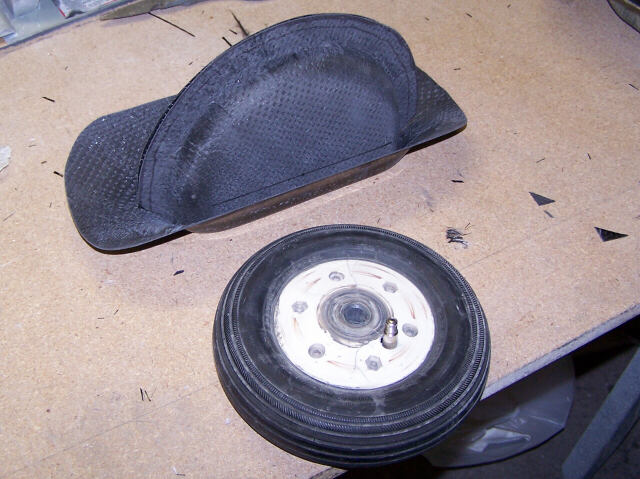
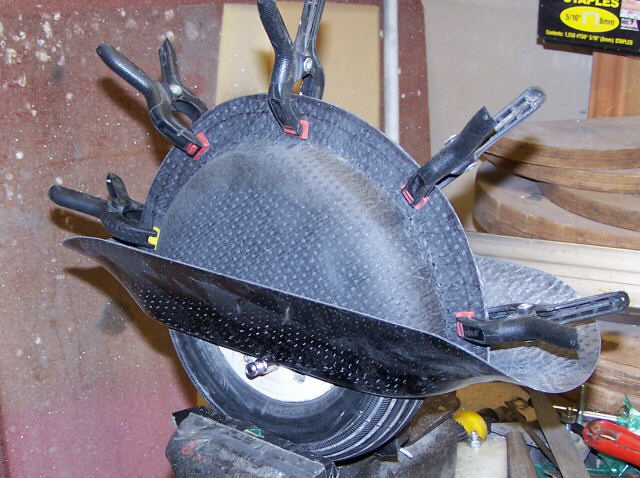
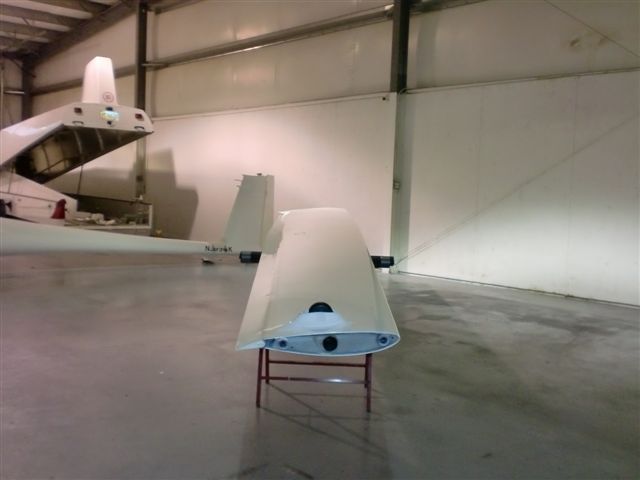
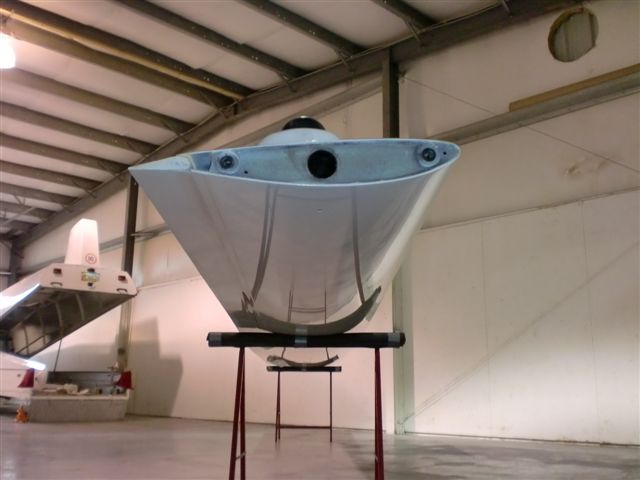
Back at the shop sometime in November, I made this tailwheel fender and fairing.
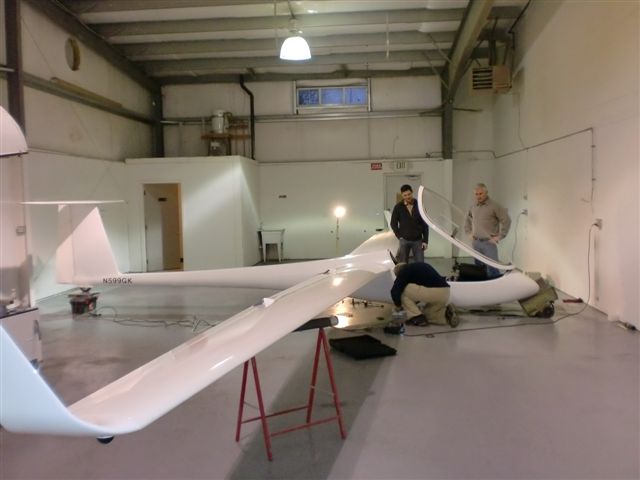
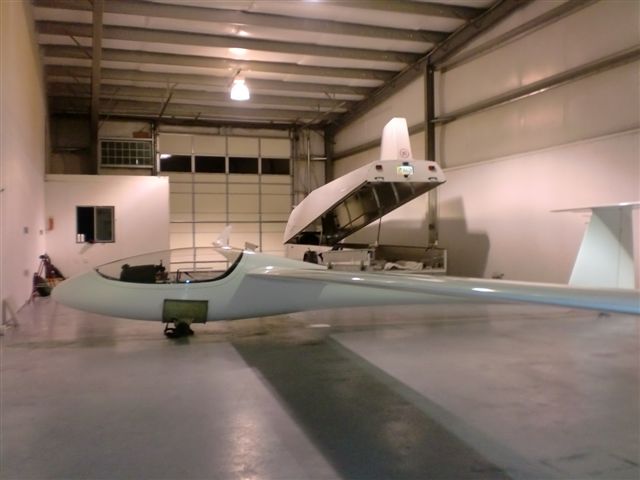
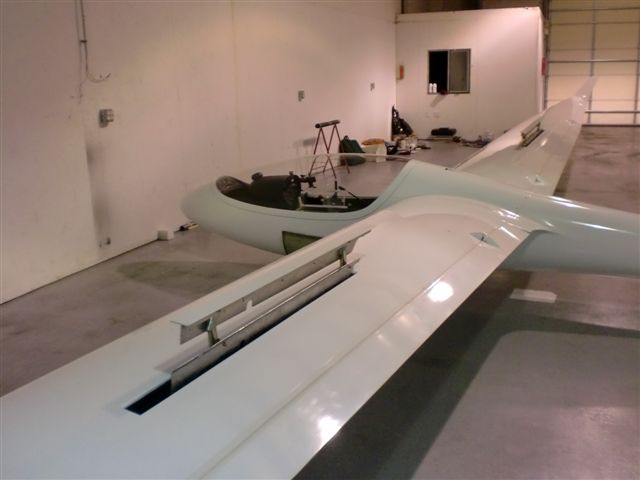
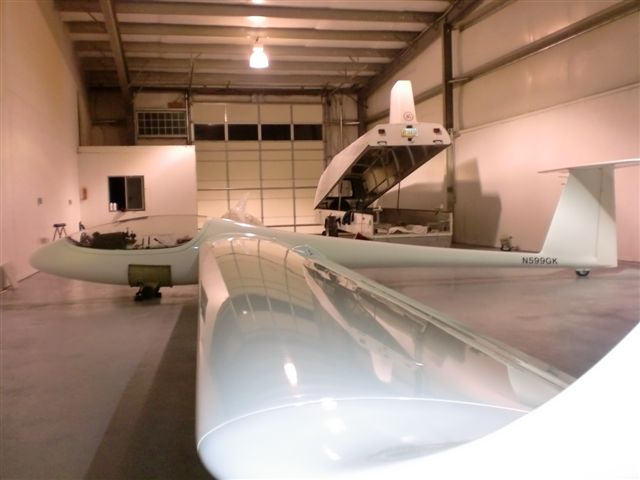
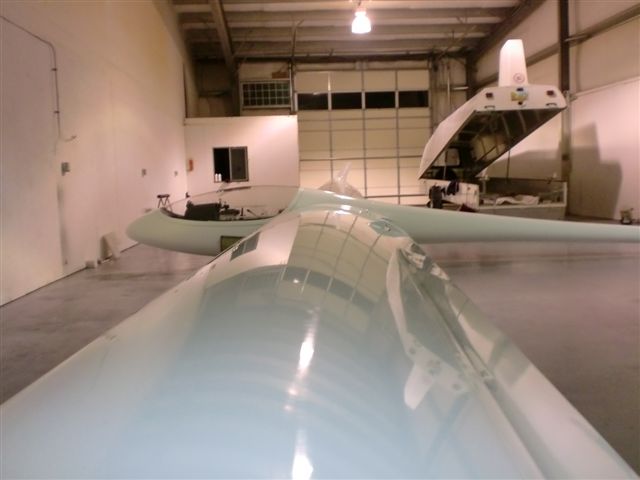
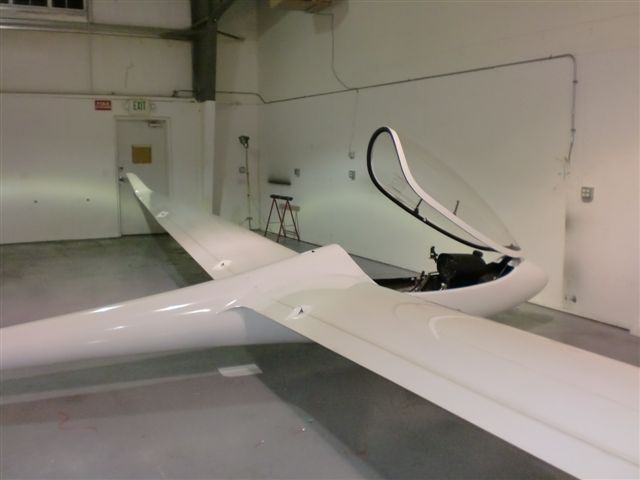
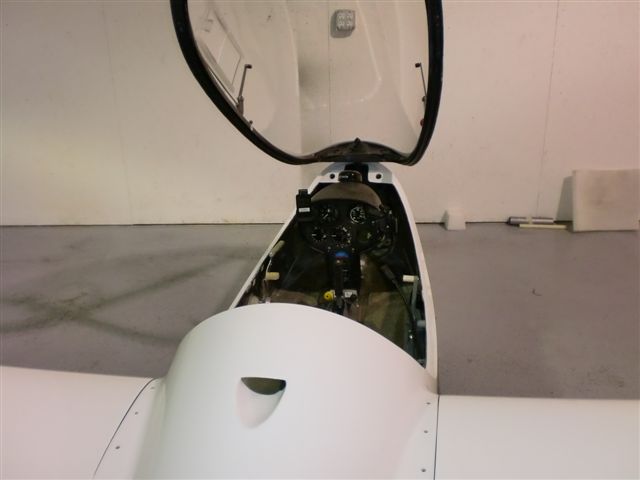
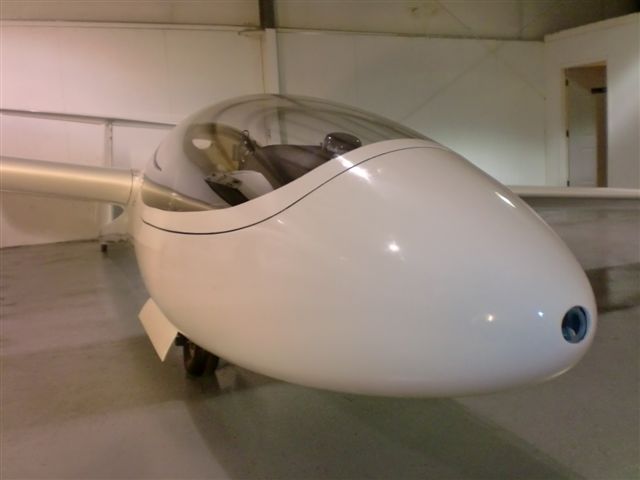
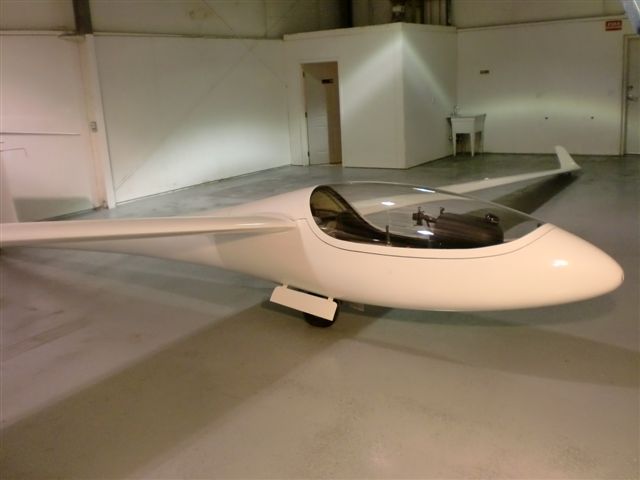
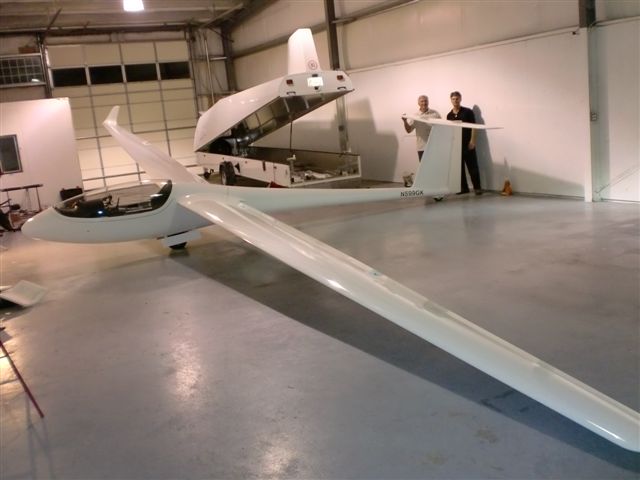
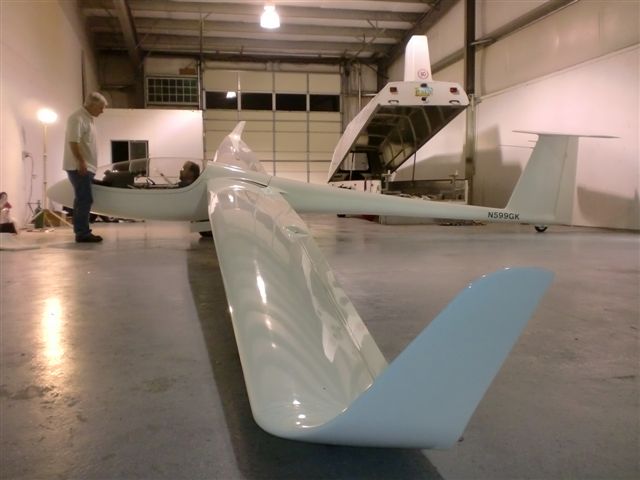
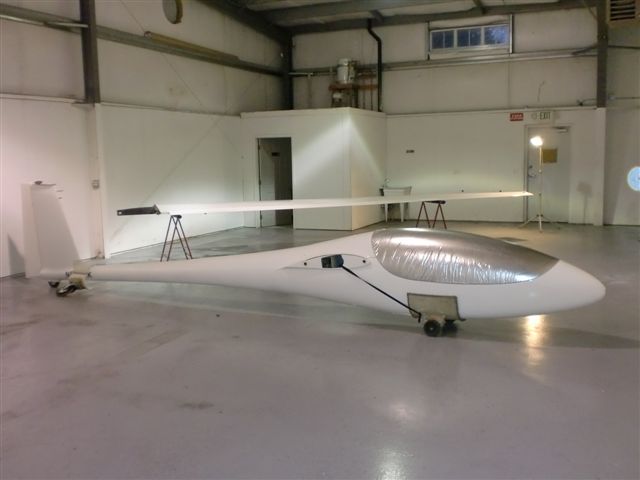
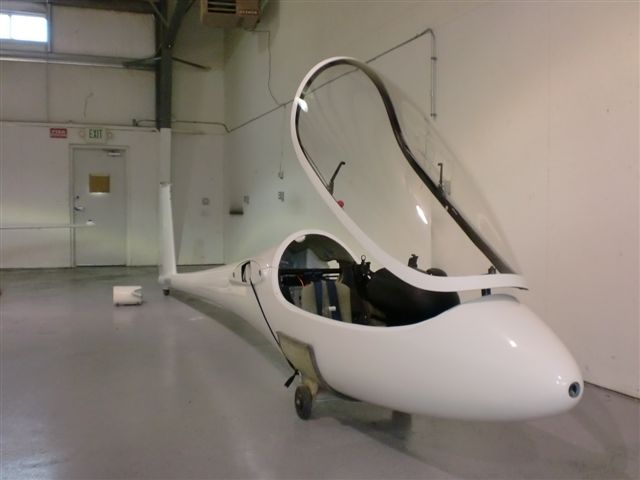
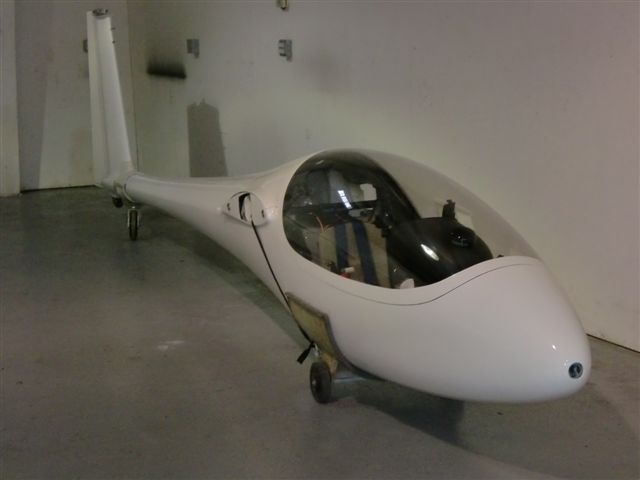
In early December, Brad rented a warehouse bay (the same one we used for the drilling the wing main pin bores) to do final assembly and weight and balance. Now it looks like a real sailplane!

You can also track the project on Facebook. In fact, that's probably the best way to see what's new.
Homebuilt aviation is not for folks who don't try things at home.
page updated 10 December 2011 all text and graphics copyright (c) 2011 HP Aircraft,
LLC