I've finally had a chance to start putting together photos from Akaflieg Monroe I (30 June through 4 July 2006). Here y'go!
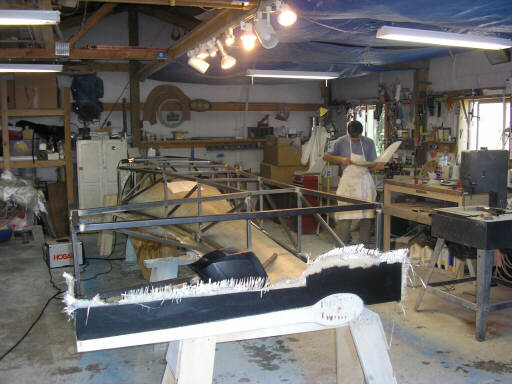
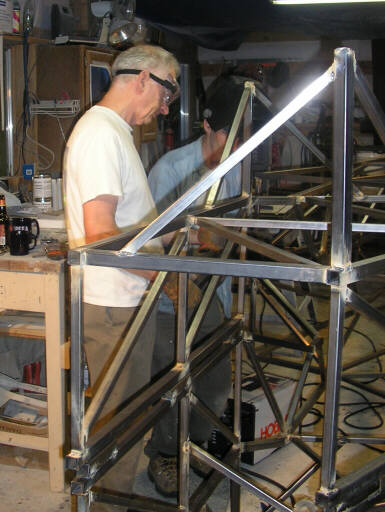
I arrived in Seattle around noon on 30 June, and Brad and Doug picked me up at SeaTac in Doug's rental. On the way to Brad's place, we stopped at Central Welding and picked up an extra spool of flux-core MIG wire and an extra chop saw blade. And also a two-pack of those little red arrow jig magnets. Brigitta arrived at Brad's place shortly thereafter after a leisurely three-day drive up the coast with the kids (and the welder and chop saw and a few gallons of epoxy). After a short recuperation, we all changed into our grungies and got to work. My big job for the Akaflieg was to assemble the steel support trusses for Brad's Glidair fuselage molds.
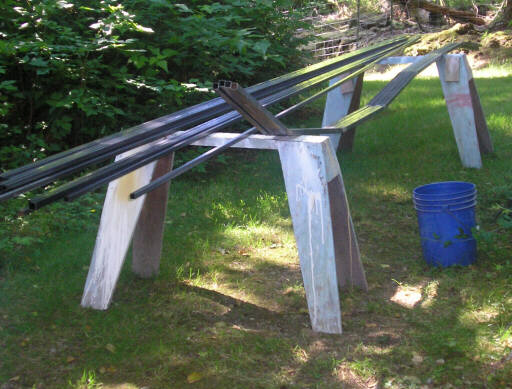
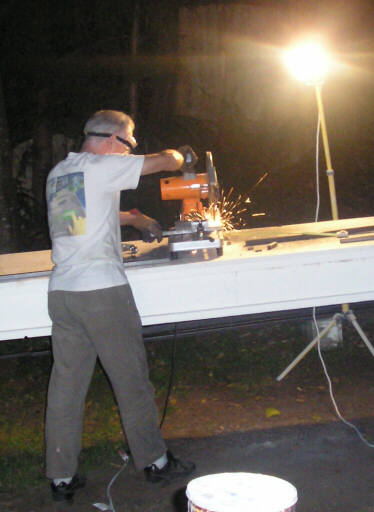
Here I evaluate the fit of a keel tube I cut for the truss. The bends are places where I cut 3/4 through tube on the chop saw, bent it, and then welded up the kerf. I learned that when you do this your bends always come out sharper than expected, probably because of the way the welded area shrinks as it cools.
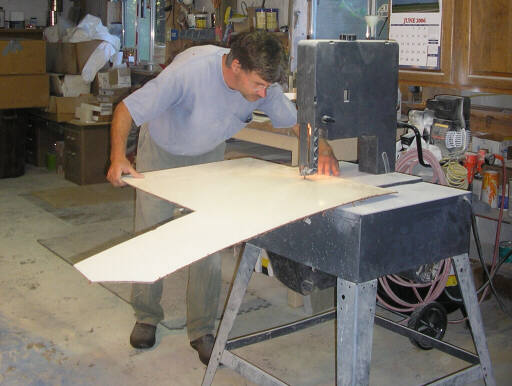
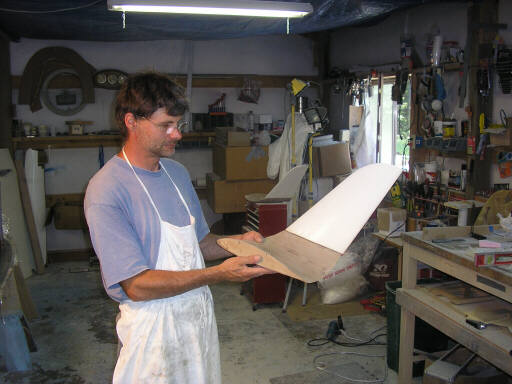
Brad cuts Masonite for the flange board on the vertical stabilizer.
Here's our first two keel tubes for the support truss.
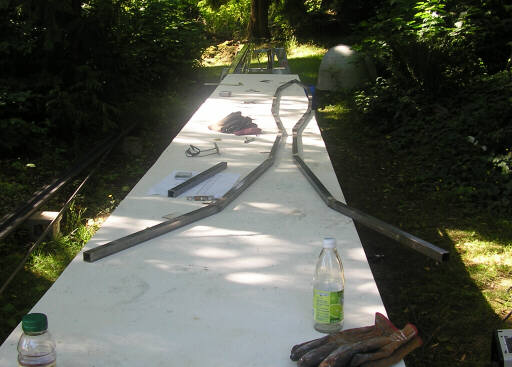
Here's the full set of four keel tubes on Saturday morning, 1 July. Two are for the left mold half, and two are for the right. The blue bucket is full of a mix (exactly one glug per gallon) of Simple Green and water for washing the steel tubing, which comes from the supplier coated with a nasty, sticky, anti-corrosion oil.
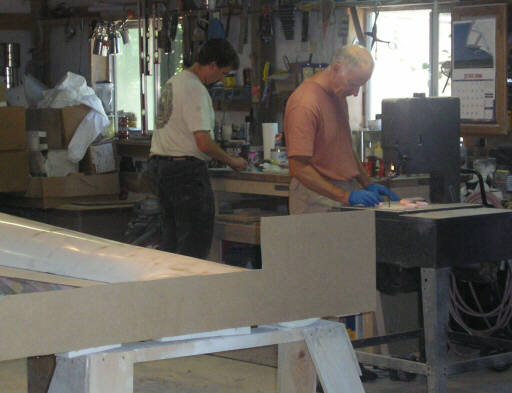
Noel calculates how much 18 oz roving we'll need while Doug saws out foam chocks for the flange boards.
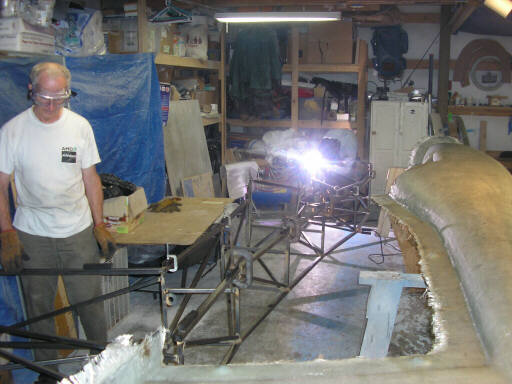
Here I'm welding up the first two of four "crooked ladders" that form the basis for the support trusses.

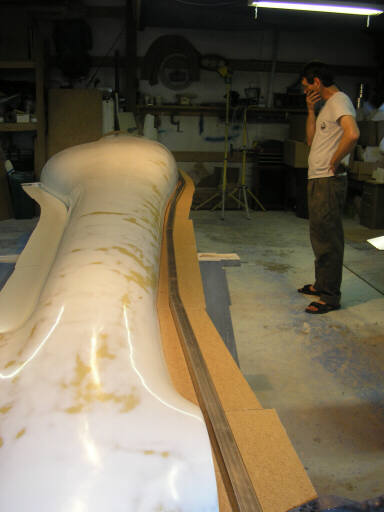
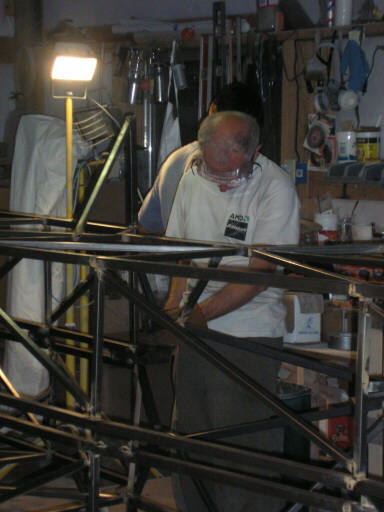
Noel and the first batch of epoxy tooling coat. After spending the morning cutting cloth and finishing off the flanging system, the guys got right into the layup. Based on the area, and our experience with the HP-24 wing molds, we figured it to run about 2.5 hours and finish around 10 pm - an extimate that turned out to be about two hours optimistic. I think that the extra time was because of the awkward geometry of a fuselage as opposed to that of a wing.

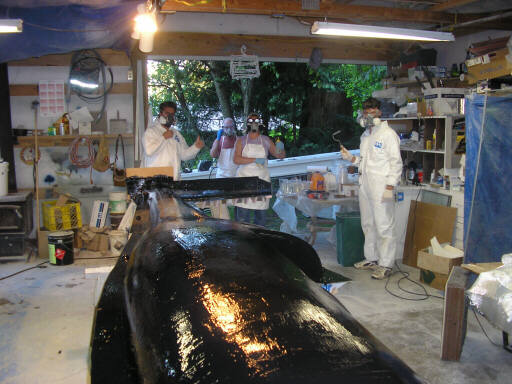
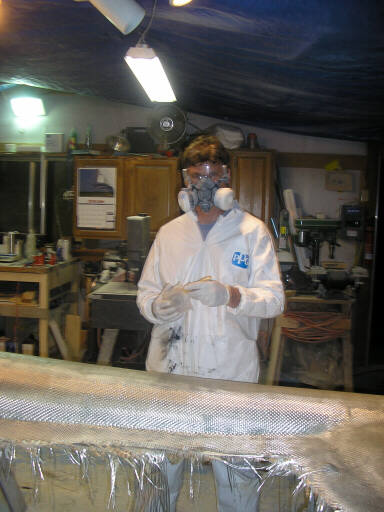
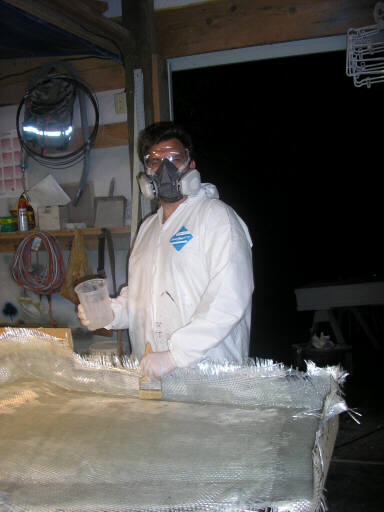
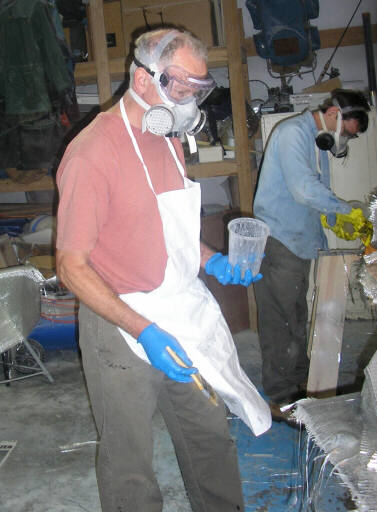
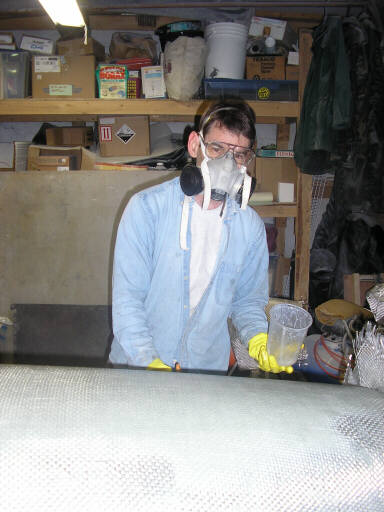
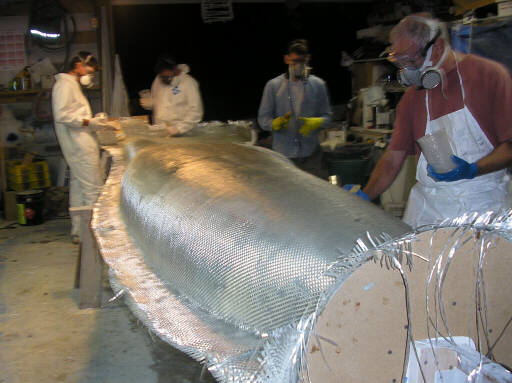


We ran out of our basic epoxy hardener (Epicure 3234) just as we were finishing the layup, so we ended up using a different epoxy system (something called Epic) for the finishing touches - see the gold-colored patches in the photos. Mixing different epoxy systems isn't normally something you want to do, but we were in a bit of a bind and willing to explore the envelope a bit. It worked fine.
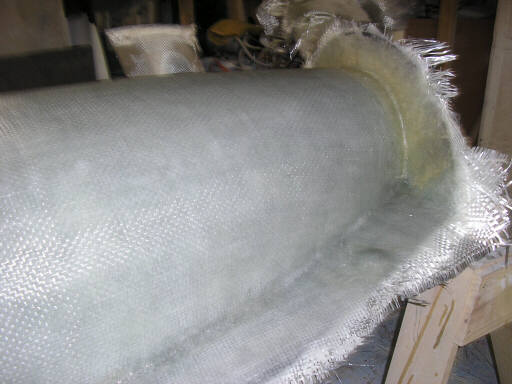

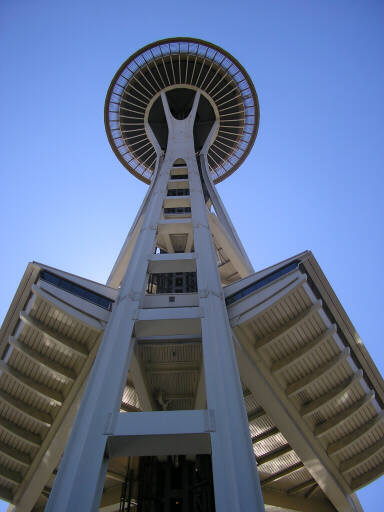
The next morning (Sunday 1 July) we got up and evaluated our work and progress, and declared a rest day. The mold shell was still a bit soft, so it was too early to start trimming the edges or bonding on the steel truss. So we shanghaied Doug and his rental car for a trip into Seattle. We visited the Burke museup at or near the U of W, and then went to the Space Needle. The old needle was looking great for its age, although not nearly as tall as I remember it as a kid. On investigating the legs, we found them to be three I-beams welded in a triangle configuration from the ground to the top of the waist. Above that, two of the I-beams stop so the upper struts are composed of a single I beam each. Also, I distinctly remember the holddown nuts for the leg anchors as being about a yard across, but here we find that they're not even 8" flat to flat.
On Monday morning we got right back to work. Doug manned the chop saw and cut tubing for the truss while Brad worked on the winglets, joining the blade to the transition and smoothing out the transition.
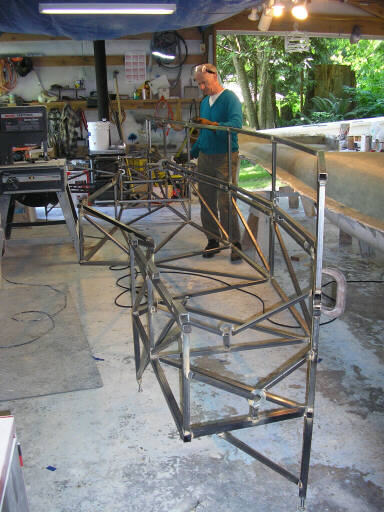
By Tuesday morning we'd completely finished off the right-side truss and parts of the left, and had one day left in the Akaflieg. We put our heads together and decided that instead of laying up the left mold shell we'd finish welding the left side truss, and that later Brad would convene another Akaflieg to lay up the left mold shell. Here Doug clamps the "crooked ladder" for the left side keel on top of the right side truss. Using the right truss as a foundation for the left let us have a fair amount of confidence that the truss would fit onto the as yet unmade left side mold shell.
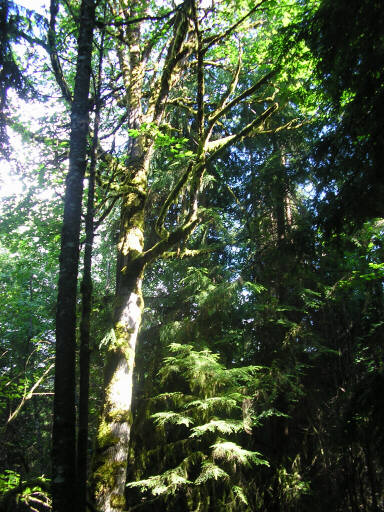
At about noon on Tuesday we were about halfway done with the truss, and starting to get a bit burned out. So we took a break and went on a walk through the forest near Brad's place.

...And then got right back to work.
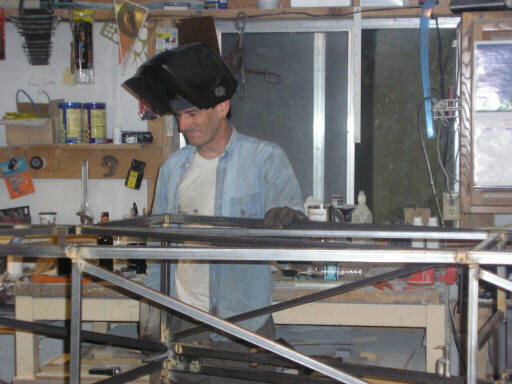
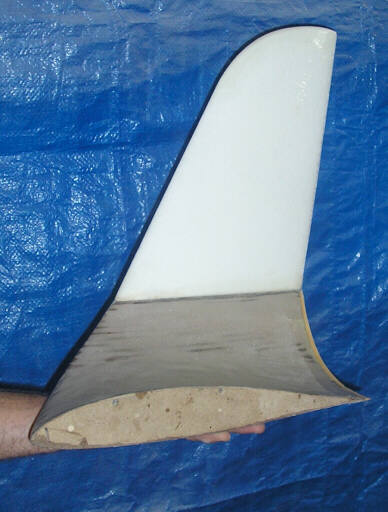
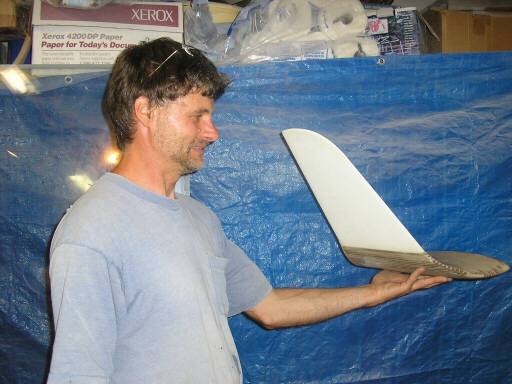
Brad continued working on the winglets, taping the blade onto the transition with lightweight cloth, and taping the hand-sanded leading edge of the fin tip area.
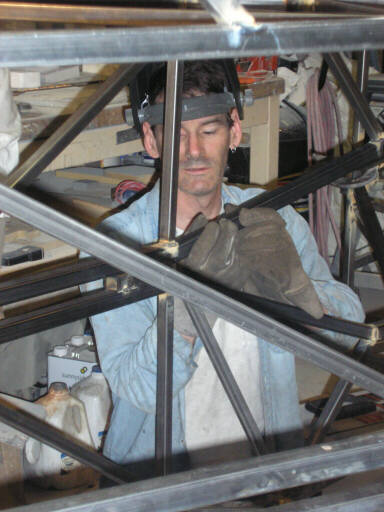
...While Doug cut and fitted tubing that I welded into the truss. Most of the joint geometries were pretty simple (that's one of the good things of working with square tubing), but some of them were quite complicated. Doug developed quite a knack for using the chop saw, grinder, and hacksaw to get a good fit at the ends of the tubes.
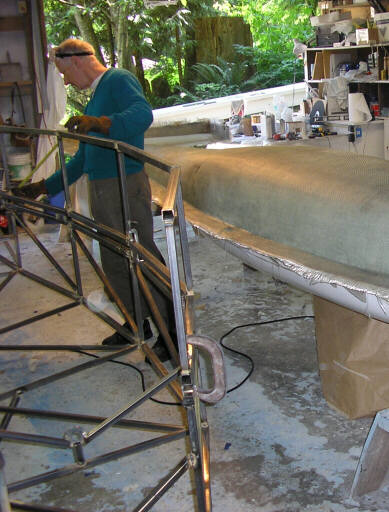
Towards the end of the evening it bacame an all-out race to get the left truss finished that night. Here the left truss is basically done, and I'm welding in the short chocks that constitute the contact pads between the truss and the mold shell.
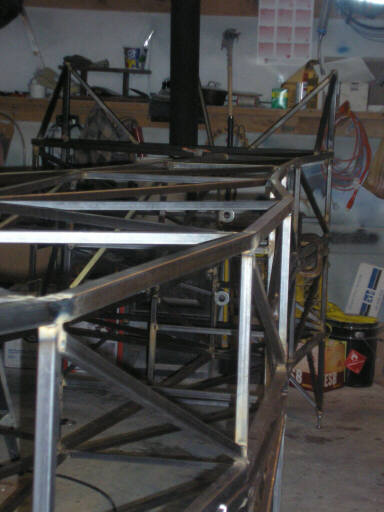
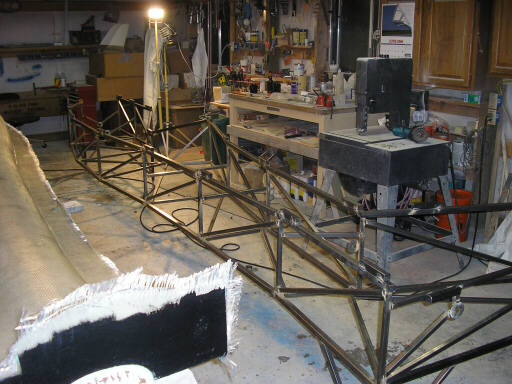
And here's the finished right-side truss.
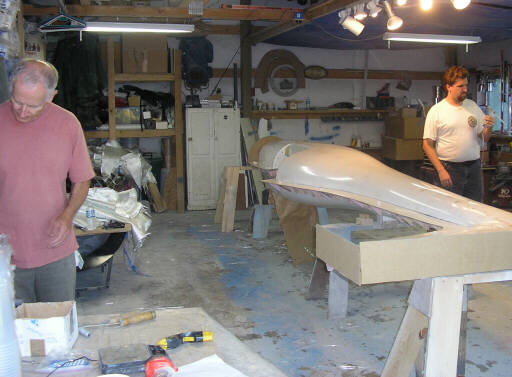
The next day (Wednesday 5 July) Doug and I got up before dawn, turned in the rental car, and hopped a Southwest flight back to San Jose. A few days later, Brad reported that he'd bonded the right truss in place on the mold shell.
page updated 9 July 2006 all text and graphics copyright (c) 2006 HP Aircraft,
LLC