
Last weekend I hopped a Southwest flight up to Seattle to help Brad Hill on the Glidair project. I spent most of Saturday working on generic tooling to locate push-pull tube guides, and most of Sunday working out some possible guide locations and helping Brad make squishes for aft fuselage internal parts.
On the squishes, we generally used a technique that occurred to me a few months back - that of making the right and left halves of the squish independently, and then later joining the two halves using the mold flange deck as a reference for the nominal plane of symmetry. That technique requires some careful measuring to make sure that the right an left fit together properly, but saves you a ton of time, effort, and mold-abuse because you don't have to do a bunch of rollovers on the mold halves.
For the vertical fin internals the game is a bit complicated by the fact that we had no convenient flange deck along the aft and top ends of the part. So there was some very careful measuring to be done there to establish a reference deck along the plane-of-symmetry surface of the half-squish for the vertical fin spar. But once we had that deck to work from, it was pretty easy to reference the other half-squishes from it.
The procedure for making a half-squish is pretty simple. You start by placing a straight bar or stick between the reference decks, then you cut a rough fiberboard shape that fills most of the space between the bar and the surface. Next, you temporarily glue the fiberboard shape to the straight bar. And then you mix up some Bondo, slather it to the edge of the fiberboard shape, and press the bar and the shape down onto the surface so that the bar contacts the reference decks.
Once you've made right and left half-squishes, you simply break them away from their straight bars and glue them toghether. Do a bit of cleanup sanding, fill in any cavities in the Bondo, and you're ready to make molds for some sweet-looking parts just like the pros make.
Of course, such topological gymnastics might be a bit more effort than just sending away a bunch of dollars and .easm files to have tools for the internals CNC cut. However, they are a lot more rewarding, and a lot less heartbreaking when you arrive at the inescapable reality of composite structure development: Nothing is exactly the same shape as you expect it to be, and nothing is exactly the same shape as it was when you designed it.
Anyhow, we got a lot done and overall had a really rewarding weekend. In addition to all the work we did, Brad and Noel and I spent a ton of time yammering about aircraft design and development, and about what we've seen work and what we've seen go awry.
Anyhow, here's the latest photos:
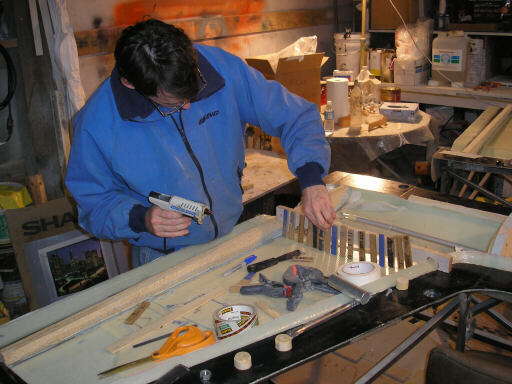
Noel Wade does the layout for the half-squishes for the vertical fin spar. This was the most demanding of the squishes, since it embodies the reference deck we used to make the squishes for all of the vertical fin internals.
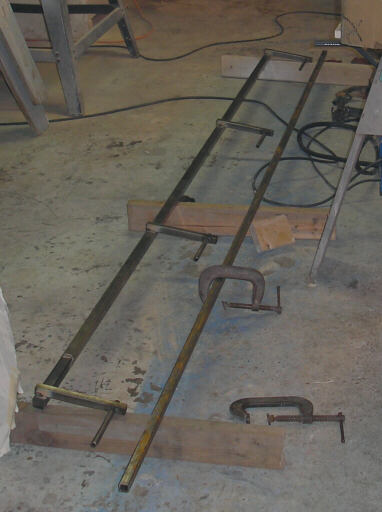
This is the "comb" I welded toghether to locate the elevator push-pull tube guides inside the aft fuselage. Unlike the equivalent tooling for the HP-24 project, this generic device lets Brad put colinear guides along any path through the aft fuselage. That follows one of our essential tenets of aircraft development: until it is essential to make a decision, it is essential to _not_ make a decision. Indecision is an art essential to flexibility.
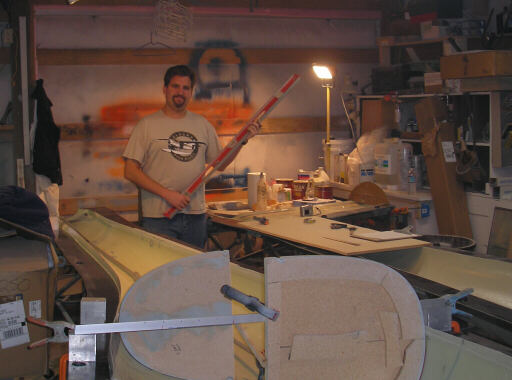
Noel brandishes a weapon of mass alignment.
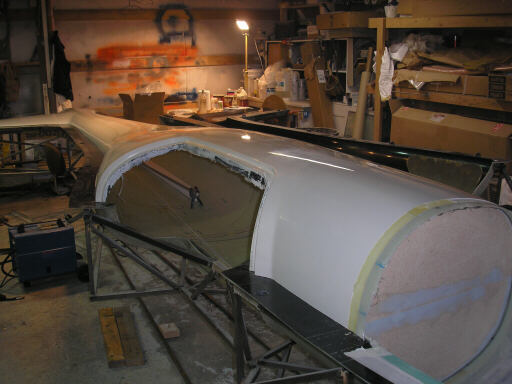
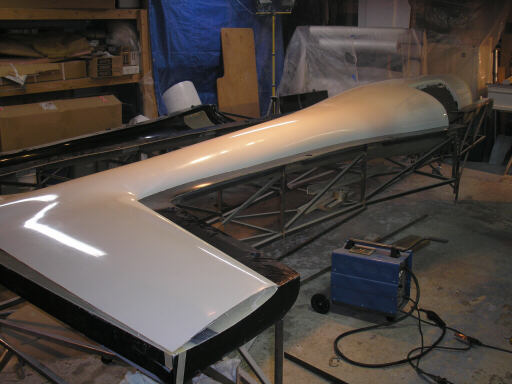
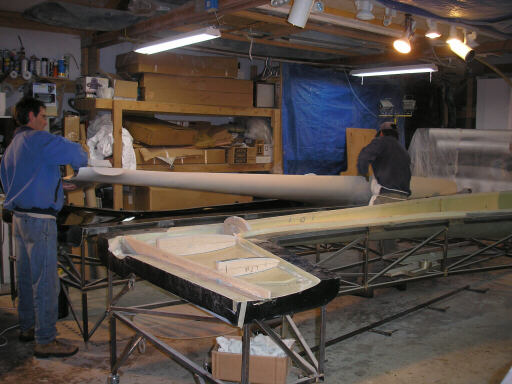
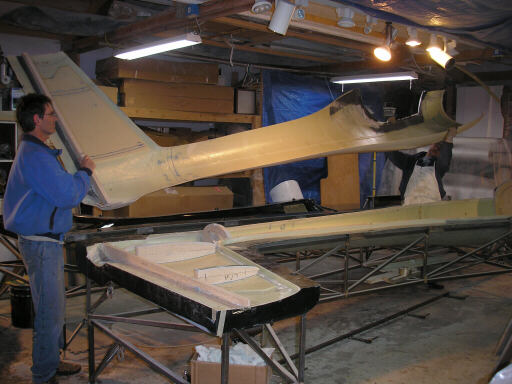
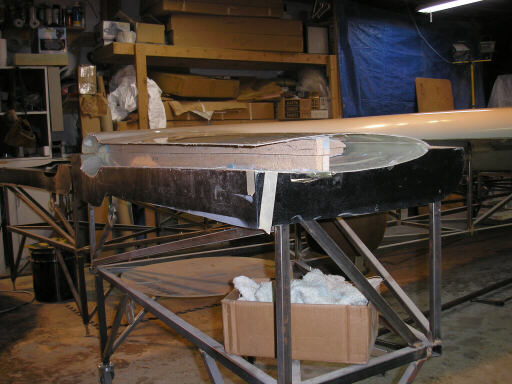
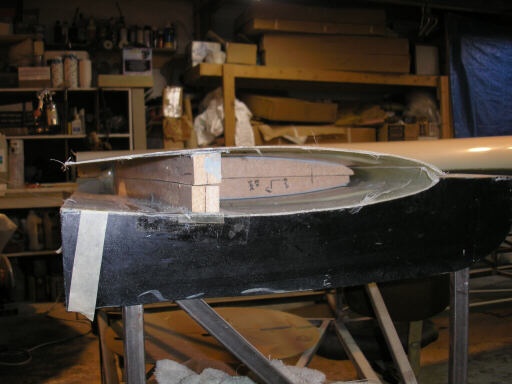
One of the things we did early on in the Akaflieg was to pry the left-side shell out of its mold and roll it over onto the right shell, which was still in the right mold. This gave us a look at how the internals were fitting, and also showed us how totally cool this thing is gonna look when it's done.
Here I start work on a root rib for the vertical fin. I'm using a reference stick that spans the mold deck and vertical fin half-squish, and hot-gluing on sticks of cardboard to "depth probe" down to the internal surface. Note that the reference stick is notched to clear the mating flange at the leading edge.
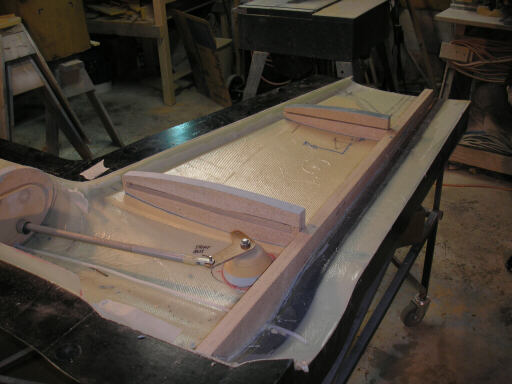
Two of the vertical fin rib forms for which Brad has joined the right and left half-squishes. In the foreground is a mockup of the elevator drive bellcrank.
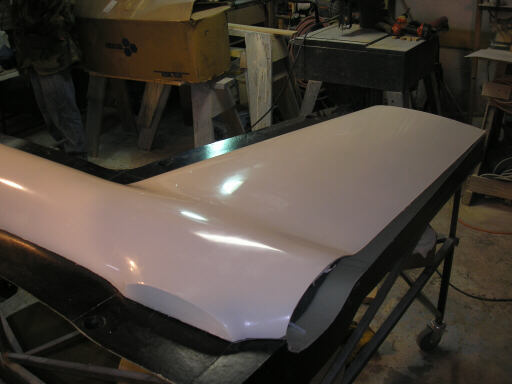
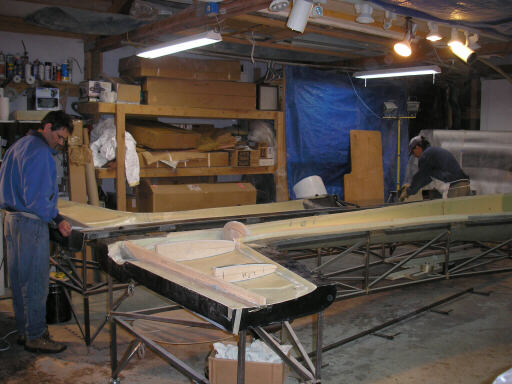
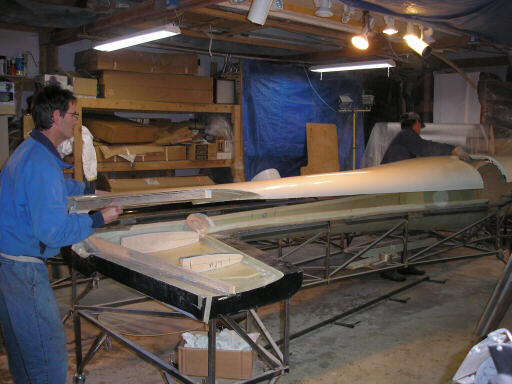
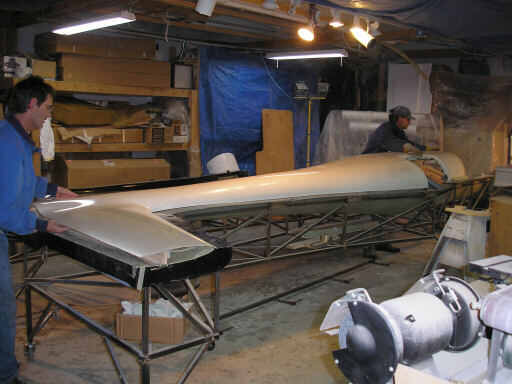
This photo sequence shows Brad and I doing a second rollover on the left fuselage shell to evaluate the fit of the internals.
A look at the vertical fin spar squish. Not perfect, but as close as there's any reason to be.
The outboard of the two fin rib squishes. The leading edge part looks a bit jagged, but that part gets cut off before getting molded.
page updated 22 January 2007 all text and graphics copyright (c) 2007 HP Aircraft,
LLC